
The colors of Fall. (F is for Fall)
The holidays of Fall. (H is for Halloween)
The changes of the trees and leaves. (L is for Leaves)
The crops we harvest (H is for Harvest) in Fall.
There are so many fall activities it was hard to fit them all in but we sure tried. Acorns were added to our corn and tractors in the Discovery Table. For several days the acorns were there to explore with magnifying glasses or to pick up with the pinchers.


We got to work on another cooperative project.
One group painted with fall colors for the top of a tree.
Another group painted the tree trunk and gave it texture with popsicle sticks.


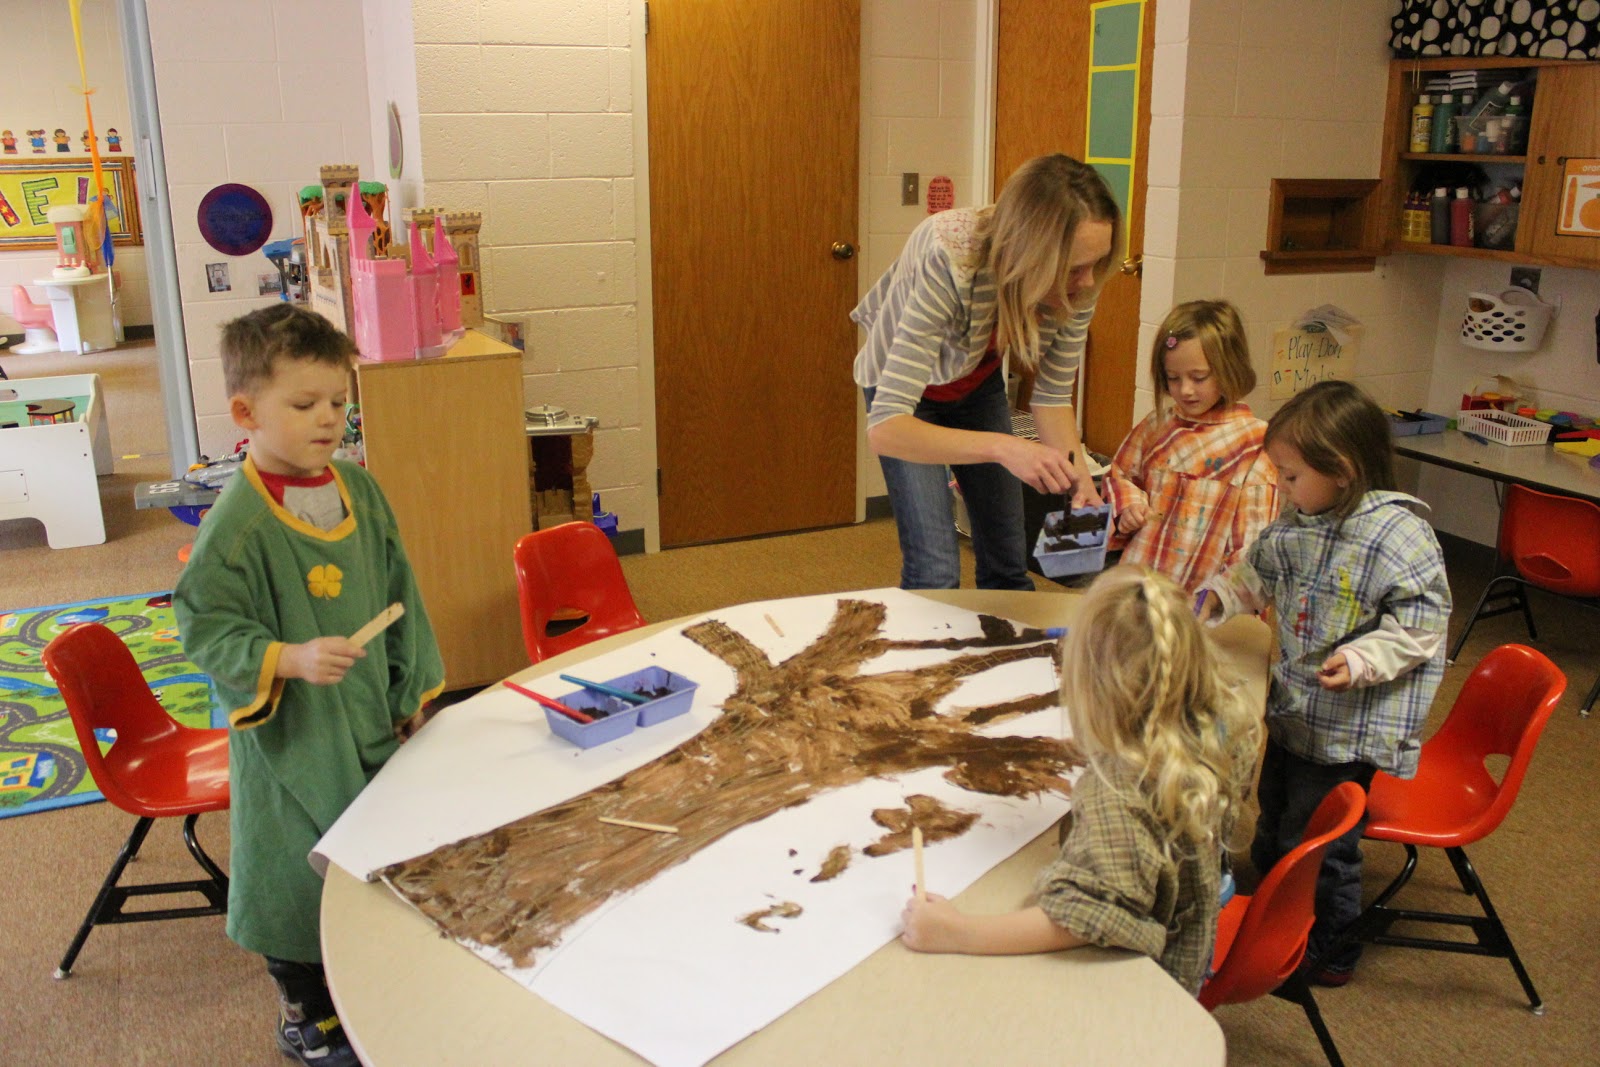
We hung our tree up in the hallway.
Throughout the month we've been adding to it.

We then made our acorns more useful.
We used a large Oatmeal container and put drops of fall colored paint on a piece of construction paper.
We then put the paper in the container with a handful of acorns.
(This activity came from Teach Preschool and then we made a few changes and extended it.)

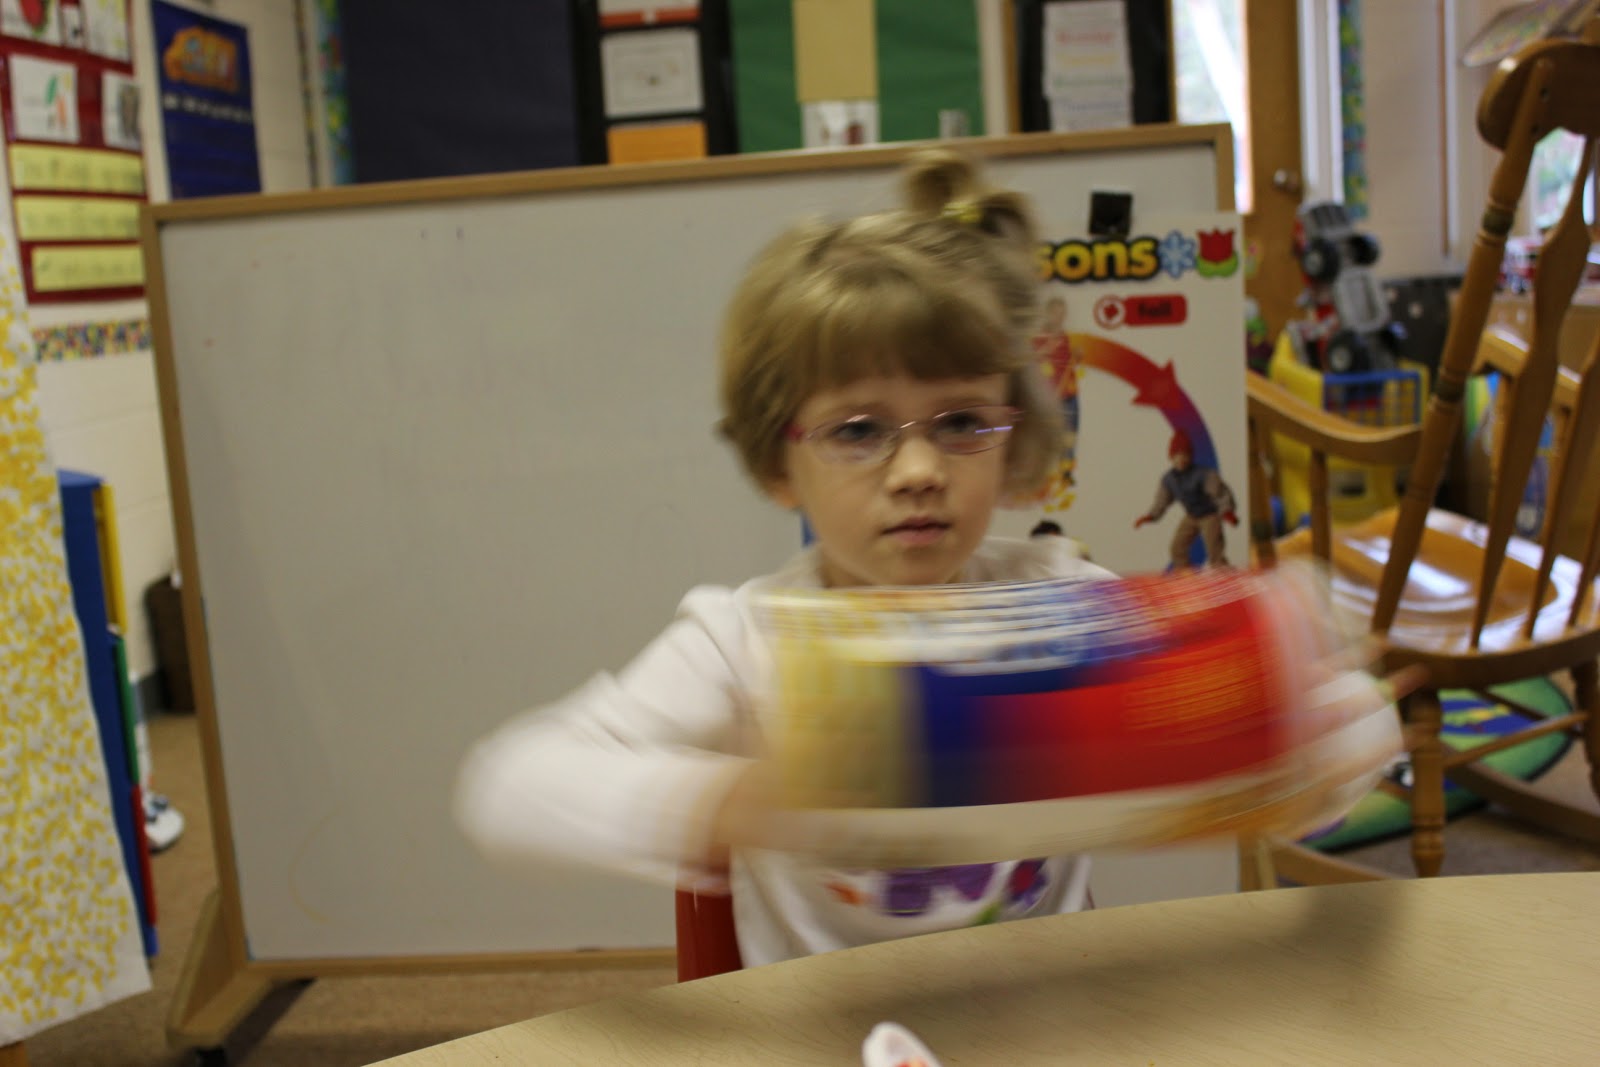
Then the loud shaking began.
I planned on this activity giving us some great gross motor skill activity but once we got into it I realized there was more learning to grasp then I had planned so we extended this activity and took our time.
We shook up and down, left and right, made large circles with our arms, rolled it back and forth across the table to each other, shook fast, shook slow, we flipped it from top to bottom . . . the activities were endless.
So was the fun.
The kids faces say it all.
They each made two pieces of acorn art.




Our end product was BEAUTIFUL.
Each one so unique.

Days later we used our acorn art paper to make leaves for our tree.
We traced leaf patterns and cut them out.
They were just like the Fall leaves we had seen on our Fall walk; each one unique and full of color.


I used this as a following directions/step by step activity.
Step one: Draw two straight lines to make a trunk.
Step two: Draw a big circle up top. (For many we did this step several times until they were happy with their circle.
Step three: Use Qtips to fill in your tree with "fall leaves". We talked about the difference between smearing it and just making a dot.
This required a slower more detailed movement then the broad strokes of painting.
They turned out great and were a great addition in our hallway.


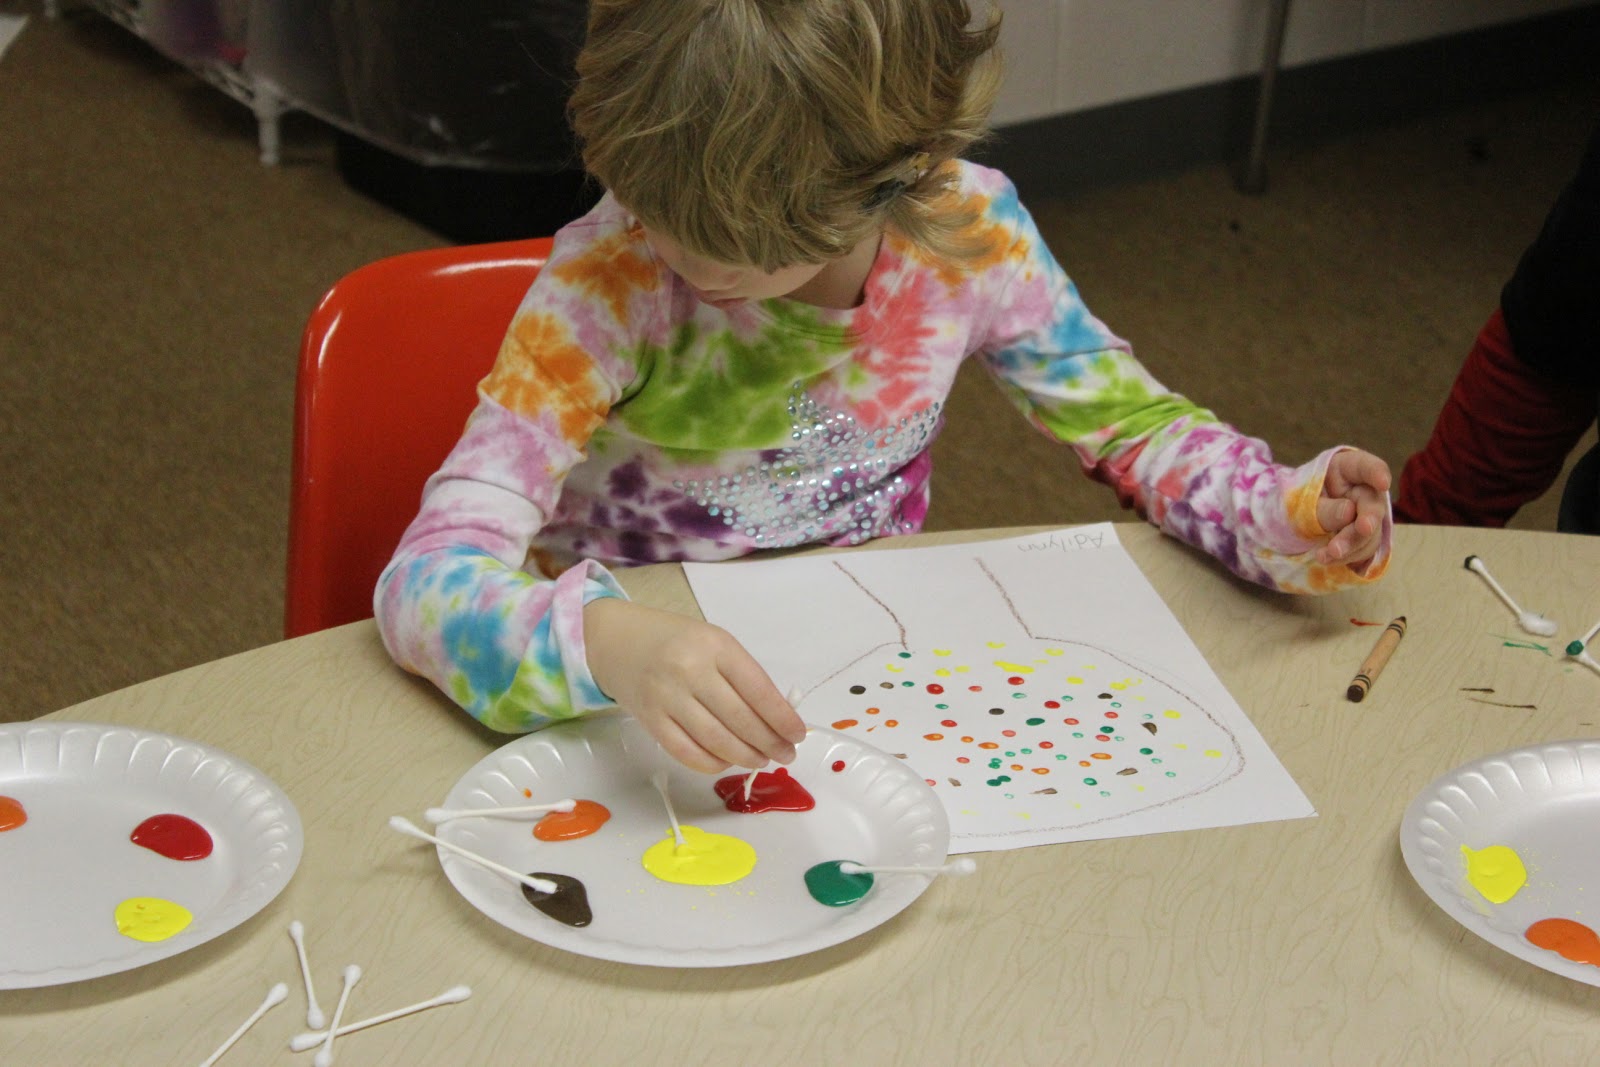


I was very excited about this activity but on this particular day they were more interested in just playing outside then doing another project. They all completed it but it was quick and a means to an end.
Some preschool projects are like that.


October has been a great month full of learning.


